
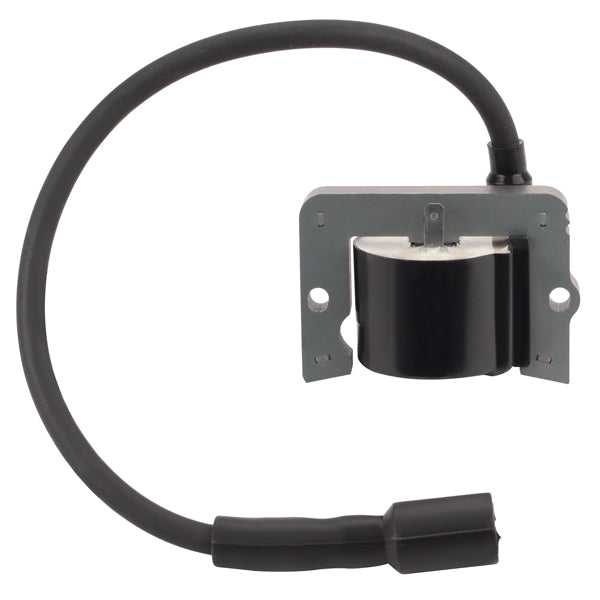
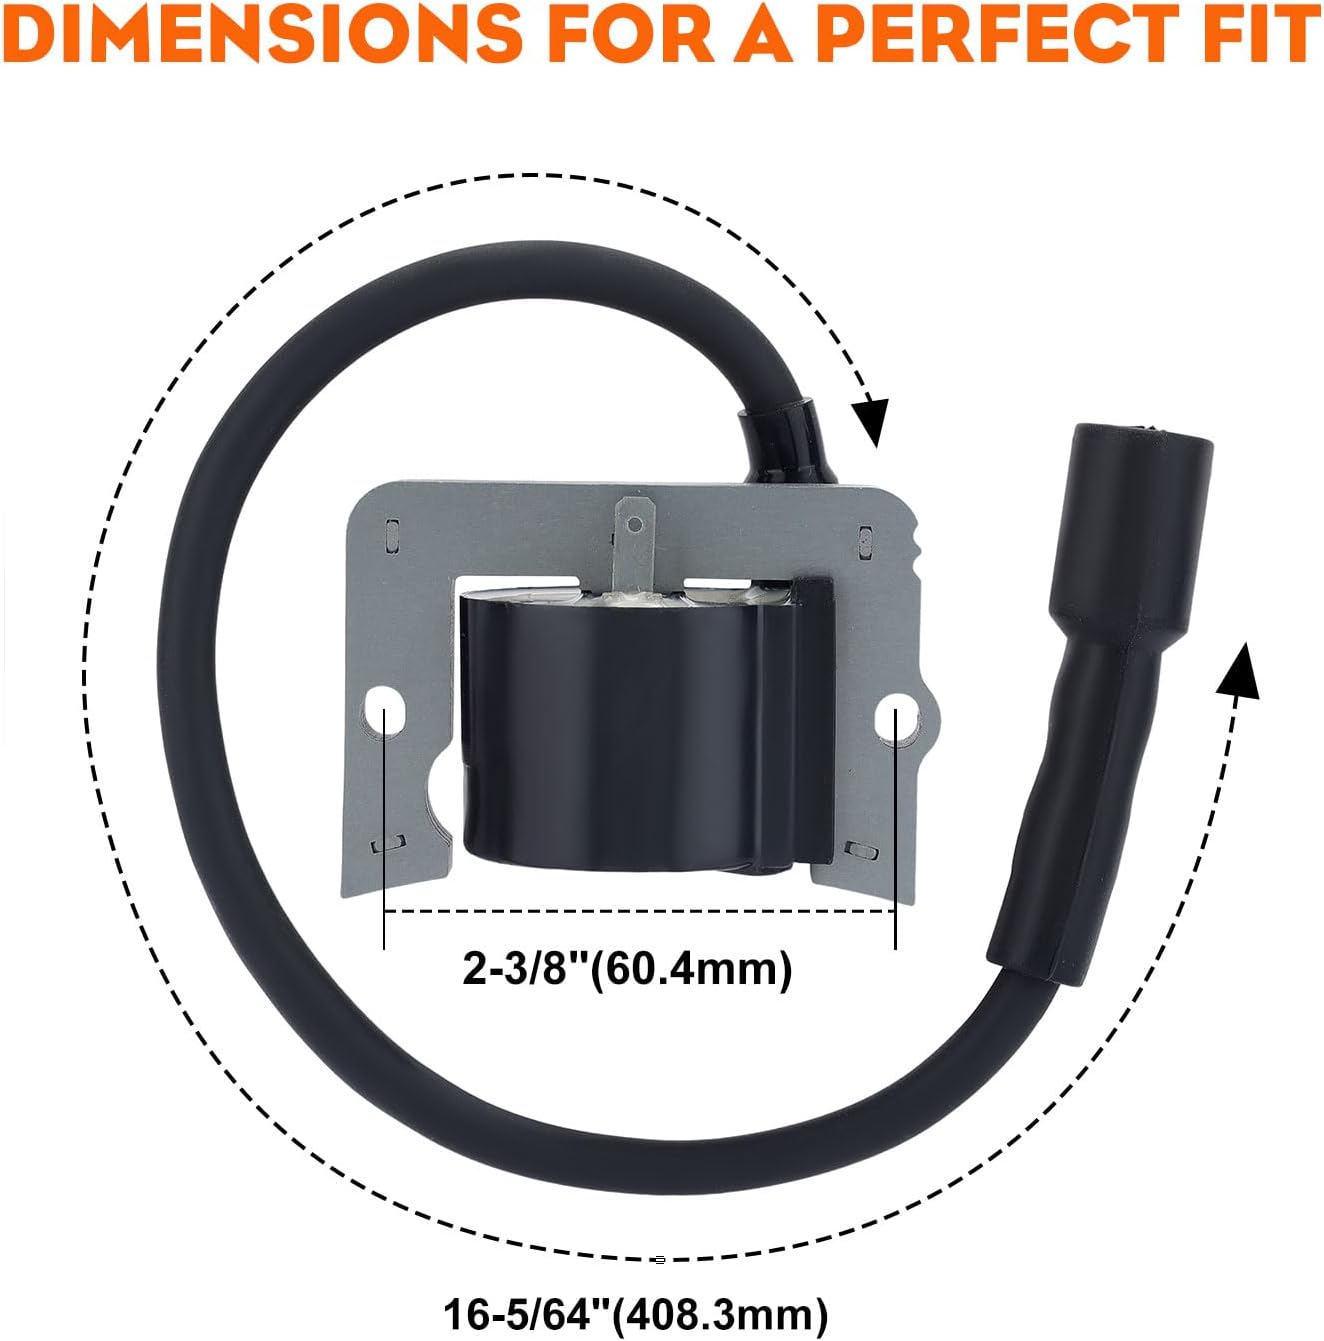
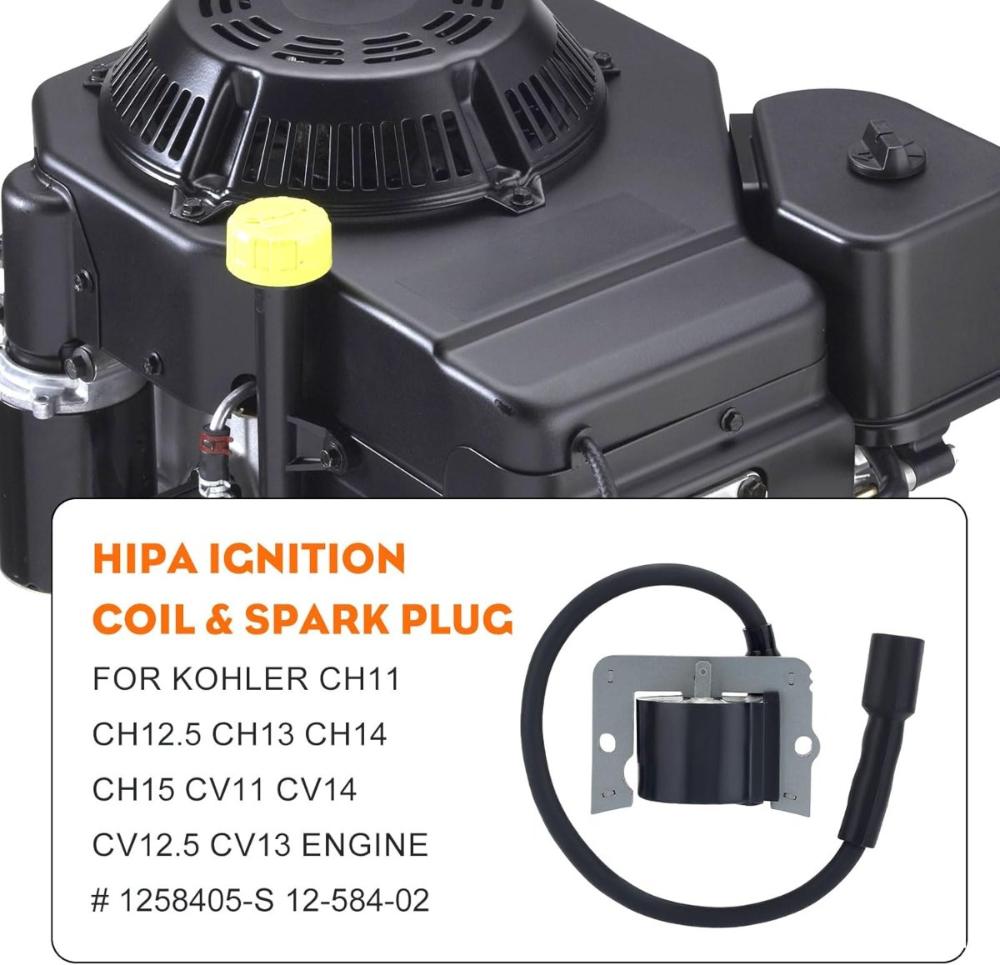
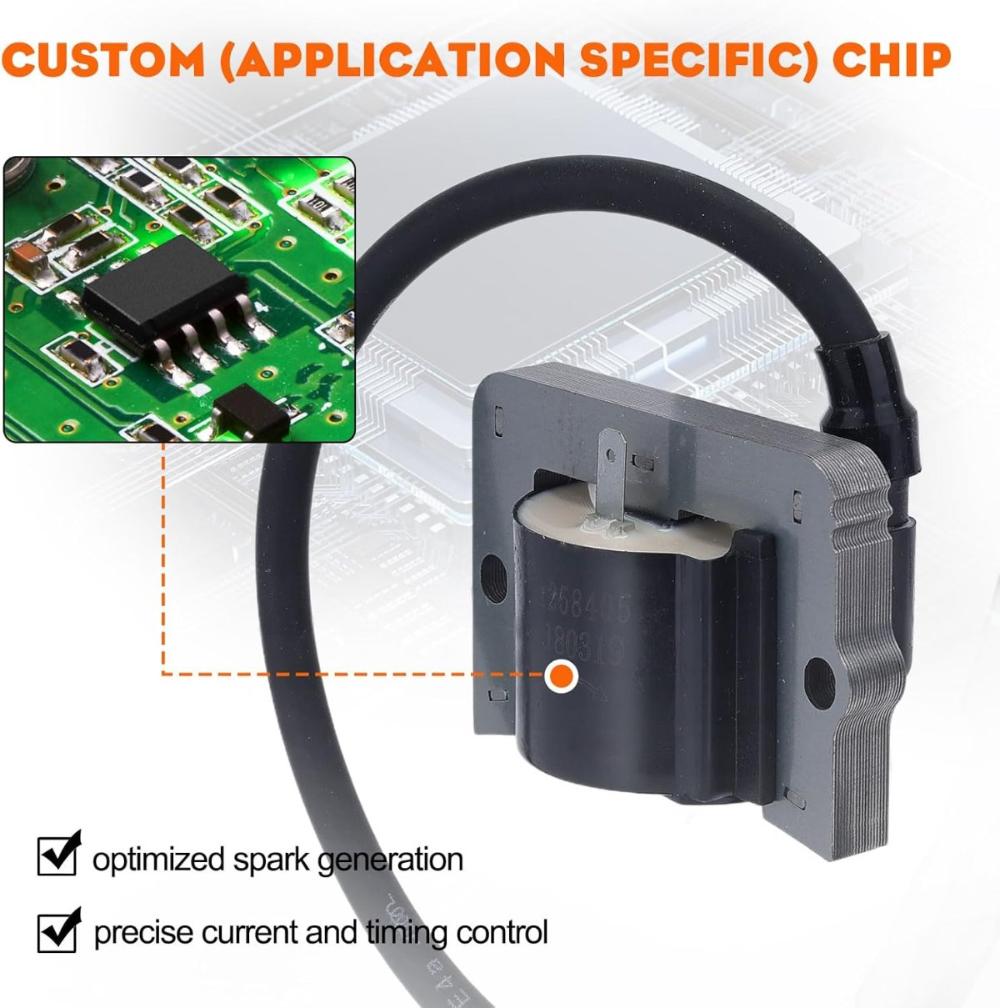
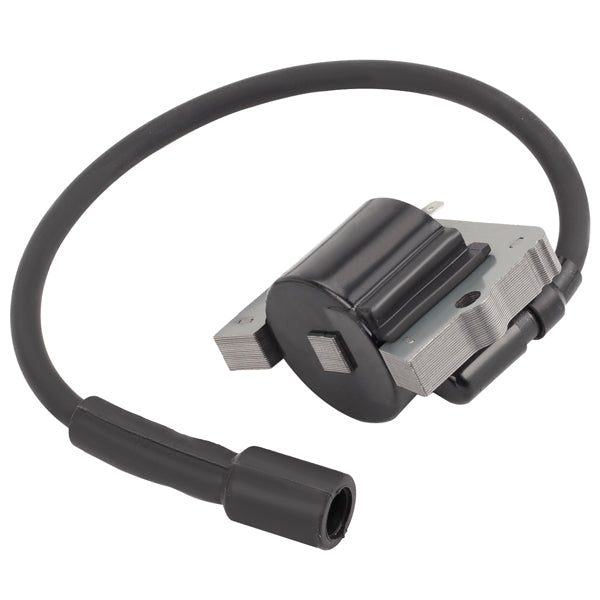
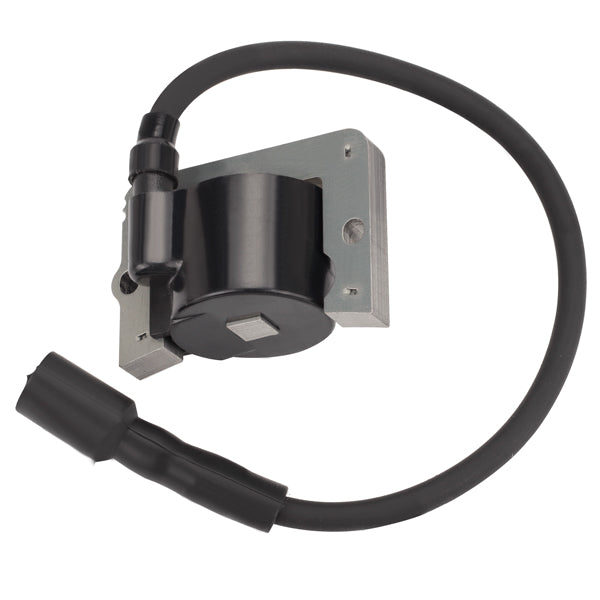
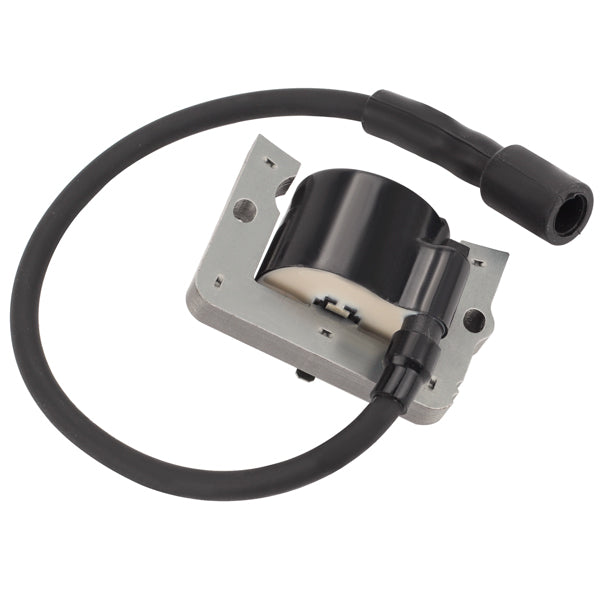
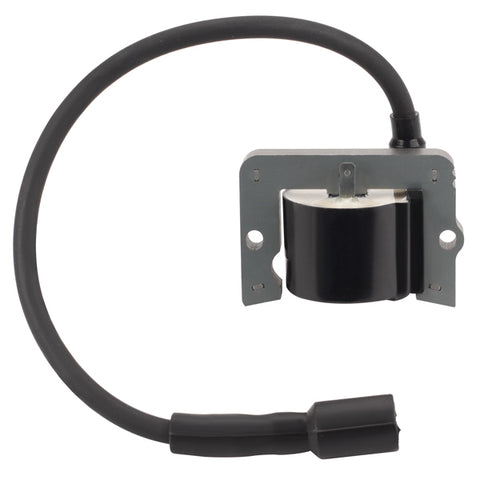
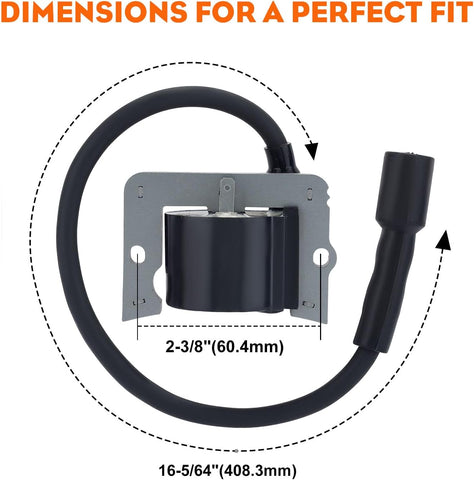
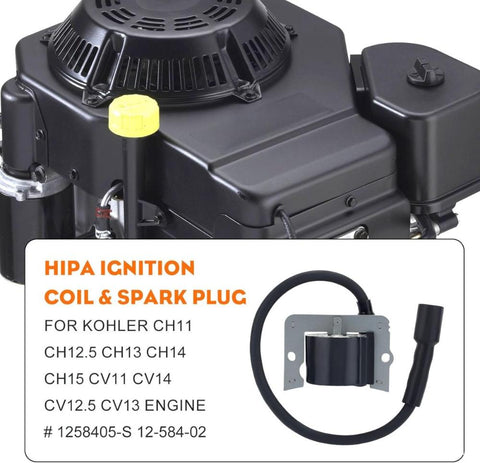
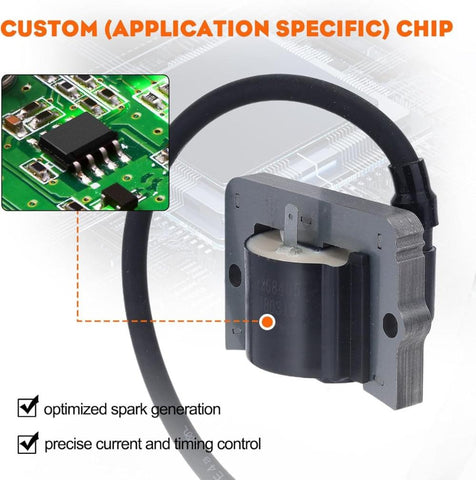
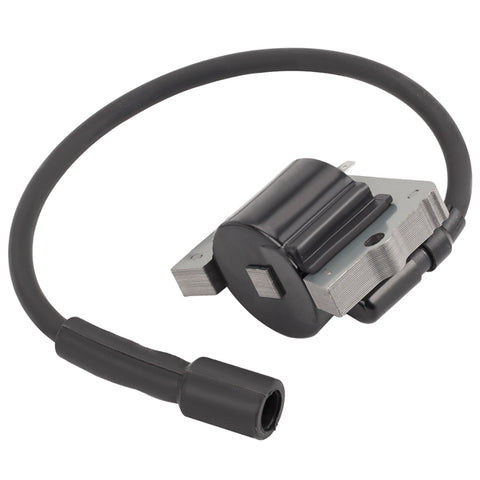
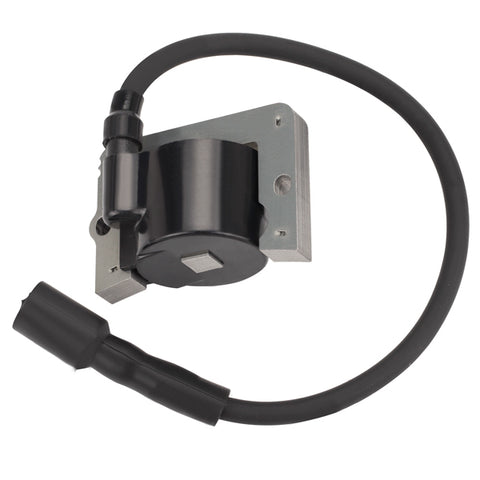
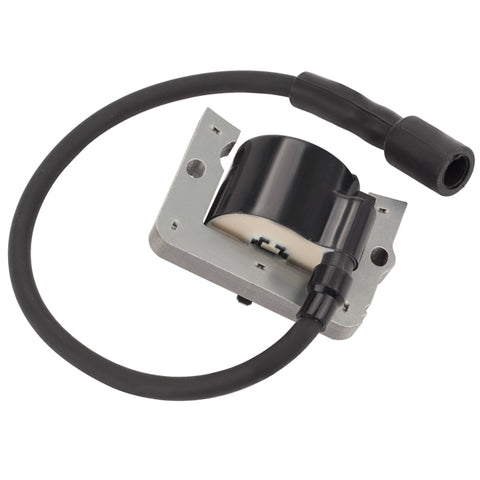
Ignition Coil for Kohler CV11 CV12.5 CV13 CV14 CV15T CH11 CH12.5 CH13 CH14 CH15 CV13T CH11T CH11GT Engine Mower Replace 12-584-02 1258405-S
- $12.99
-
$16.99 - $12.99
- Unit price
- per
Free Shipping
Free US Local Shipping with ETA 3-7 Days - $3.99 for AK, HI & PR. Hassle-Free 30-Day Returns at HipaStore
Ignition Coil fits Kohler CH11 CH11T CH11GT CH12.5 CH13 CH14 CH15 CV11 CV14 CV12.5 CV13 CV13T Engine Lawn Mower
Engineered to OEM specifications.
Comes pregreased for direct replacement.
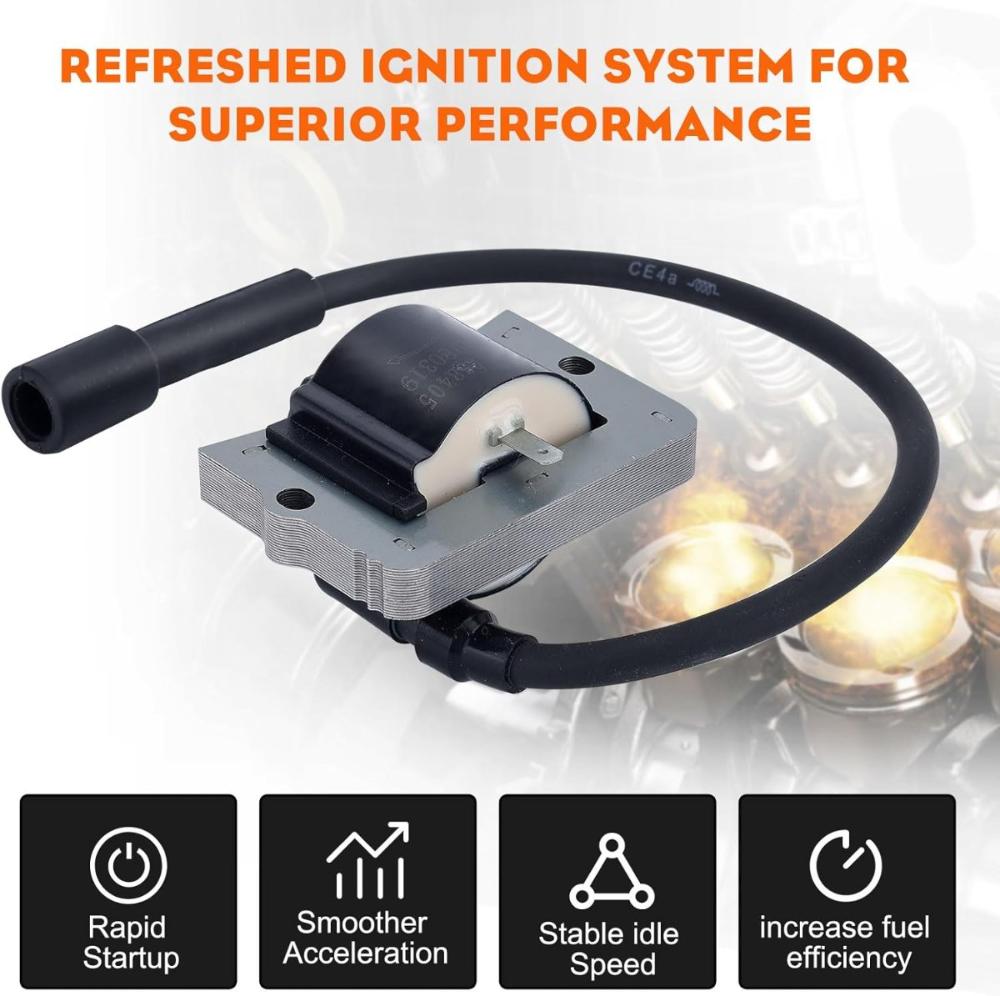
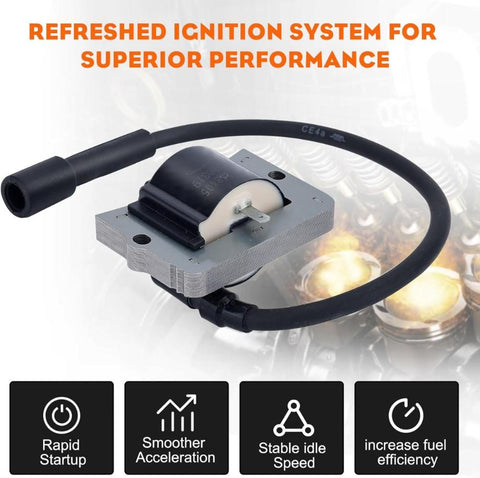
Enhance the engine starting capabilities.
Package Inlcudes: 1 x ignition coil.
Couldn't load pickup availability
Shipping
Free Shipping on ALL Orders
How long does delivery take?
3-5 business days.
What countries do you ship to?
US only.
While we need to charge $2.99 shipping fee for the following areas:
1. Alaska
2. Hawaii
3. Puerto Rico
Thank you for your understanding.
Returns Policy
1 Year WarrantyHipa guarantees any products will be defect-free (material and workmanship) under normal use and service for ONE YEAR. For any manufacturing quality problems, we will offer you a replacement within one year of receipt of your original purchase.
30-Day Returns Policy
We have a 30-day returns policy, which means you have 30 days after receiving your item to request a return. If you need to return a product purchased online from Hipastore.com, here is what you need to know:
Items shipped from Hipastore.com can be returned within 30 days of receipt of shipment for a full refund. (Original shipping fees are not refundable.) To start a return, you can contact us at service@hipastore.com. If your return is accepted, we’ll send you a return shipping label, as well as instructions on how and where to send your package. Items sent back to us without first requesting a return will not be accepted. To be eligible for a return, your item must be in the same condition that you received it, unworn or unused, with tags, and in its original packaging. You’ll also need the receipt or proof of purchase. You can always contact us for any return questions at service@hipastore.com.
A:"In 2-cycle small engine equipment (like lawn mowers, chainsaws, leaf blower, and trimmers), the ignition coil serves the same basic purpose as in larger engines: it converts the low 12-volt power from the battery (or flywheel magneto in some cases) into a high-voltage spark that ignites the air-fuel mixture in the engine's combustion chamber.
When the engine’s flywheel spins, it generates a magnetic field that energizes the ignition coil. This coil then creates a high-voltage spark that is sent to the spark plug, causing ignition. Since 2-cycle engines don’t have a separate timing mechanism for intake and exhaust strokes, the ignition coil must fire once every revolution of the engine, rather than every other revolution like in 4-cycle engines.
In short, the ignition coil in 2-cycle engines provides the necessary spark for combustion, helping the engine start and run efficiently.
2."How to replace or change a ignition coil?"
A:"Before you begin the replacement, you need to make sure the engine has cooled and remove the wire and boot from the spark plug to prevent the engine from accidentally starting.
Step 1: Now loosen the rope guide wing nut and remove the starter rope.
Step 2: Use a 5/16 inch socket or nut driver to unthread the bolts securing the blower housing cover, then lift off the cover.
Step 3: Now disconnect the ignition coil wire and rotate the flywheel magnets away from the coil.
Step 4: Use a quarter inch socket or nut driver to remove the mounting screw securing the coil and pull the old coil off.
Step 5: Install the new ignition coil by aligning it on the engine. Then thread the mounting screws loosely. Pull the coil back and tighten the screws.
Step 6: Now rotate the flywheel, so the magnets align with the coil and insert a business card between the coil and the flywheel.
Step 7: Loosen the screws to align the coil the correct distance from the flywheel. Tighten the screws and remove the card. Connect the ignition coil wire, replace the blower housing cover then thread tighten the bolts to secure.
Step 8: Depress the bale arm, extend the starter rope and hook the rope on the guide. Tighten the rope guide wing nut.
With the repair completed, attach the wire and boot to the spark plug and your engine should be ready for use."
3."How to install a ignition coil?"
A:"Installing an ignition coil on a 2-cycle small engine (like a chainsaw, lawnmower, or trimmer) requires a few basic tools and careful steps. Here's a simplified guide to help you install the ignition coil:
1.Safety First: Disconnect the spark plug and remove any fuel to prevent accidents.
2.Locate the Coil: Find the ignition coil near the flywheel (you may need to remove covers or components).
3.Remove Old Coil: Use a wrench/screwdriver to remove screws and disconnect the coil wire.
4.Position New Coil: Place the new coil, align it, and secure it loosely.
5.Set the Coil Gap: Use a feeler gauge or thin cardboard (0.010" or 0.25mm) to set the gap between the coil and flywheel. Adjust the coil as needed.
6.Tighten the Coil: Secure the coil once the gap is correct.
7.Reconnect: Attach the spark plug wire to the coil.
8.Reassemble: Put back any removed components (engine cover, air filter).
9.Test: Reconnect the spark plug and start the engine to ensure proper spark and function."
A:"Check for Spark: Remove the spark plug, reconnect the wire, and pull the starter. No spark? The coil may be bad.
Visual Inspection: Look for visible damage (cracks, burns) on the coil or wires.
Test with a Multimeter:
Primary side: 0.5–2 ohms.
Secondary side: 3,000–8,000 ohms.
Out-of-range readings indicate a faulty coil.
Check Coil Gap: Ensure the gap between the coil and flywheel is about 0.010 inches (0.25mm).
Test with a Known Good Coil: If the engine runs well with a replacement coil, the old one is likely faulty.
If the engine shows no spark or misfires after these checks, the ignition coil is likely bad."
5."How often to replace Hipa ignition coils?"
A:"Ignition coils on chainsaws typically don’t need to be replaced regularly unless they show signs of failure. However, the general lifespan of an ignition coil can vary depending on use, maintenance, and environmental conditions.
Factors Affecting Ignition Coil Lifespan:
Usage: Frequent use or heavy-duty work can wear out the coil faster.
Maintenance: Poor maintenance or neglecting to replace spark plugs or clean air filters can stress the coil.
Environmental Conditions: Exposure to moisture, extreme temperatures, or dirt can cause the coil to fail prematurely.
Typical Replacement Frequency:
Every 3-5 years: If you’re not experiencing any issues, an ignition coil could last this long with regular use.
When Symptoms Appear: If your chainsaw starts misfiring, has difficulty starting, or lacks spark, it’s time to check and potentially replace the coil.
Conclusion:
Ignition coils don’t have a set "replacement interval" unless they fail. Regular inspections and maintenance can help extend their life. If you're experiencing performance issues or poor ignition, that’s a sign the coil might need replacing."
6."How to repair a ignition coil?"
A:"Diagnose the Issue: Check for no spark or intermittent spark.
Inspect the Coil: Look for cracks, burns, or loose wires.
Clean the Coil: Use compressed air and a soft brush to remove dirt or debris.
Tighten Loose Connections: Re-solder or secure any loose wires.
Check the Coil Gap: Ensure proper gap between coil and flywheel (around 0.010 inches).
Test the Coil: Use a multimeter to check the resistance of the coil’s windings.
Reassemble and Test: Reinstall the coil, spark plug, and test for spark.
If the coil is severely damaged, it’s better to replace it instead of repairing."
- Choosing a selection results in a full page refresh.


