How to Change the Chain on a Stihl MS 180 Chainsaw
A chainsaw can cut very rapidly with minimal effort to help you do a lot of trimming and felling down trees. But after many cuts the stock chain performance may degrade over time and require constant sharpening, which is a waste of time during the job as a dull chain can add hours of work to your task. If you are having problems getting through a piece of wood, or just don’t want to stop the work to sharpen on the job, you probably need to change the chain on your chainsaw.
It takes nothing to persuade yourself to have a dull chain replaced as long as you learn how Hipa chains cut better and last longer than the OEM chains that are way overpriced!
Here we’ll take the most popular Stihl MS180 chainsaw as an example to walk you through the whole chain replace process. For other Stihl homeowner series chainsaws, you can also look into this step-by-step guide as they are pretty much the same.
Things you’ll need:
- A screwdriver
- A replacement chain for Stihl MS 180
Step 1 Take the tension off and remove the side plate
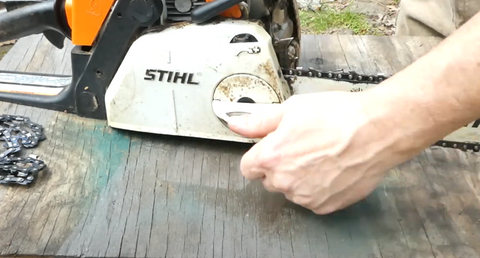
The first thing you need to do is to remove the side plate to access the guide bar and chain. What you can start with is to take the tension off the blade. The MS 180 has a flip-up on the side plate to make it easy.
In some case your chainsaw may have a tensioner that’s underneath the cover, so that you’ll need a screwdriver to take the tension off, but essentially they’re all going to work basically the same way. Just screw the flip-up to take the tension off, you’ll see the cover move a little bit. Then roll back the chain tension to take off the cover.
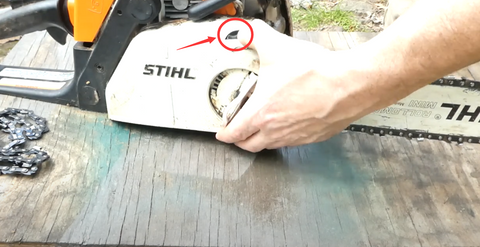
Step 2 Release the guide bar and chain
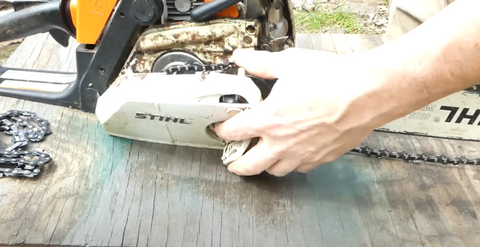
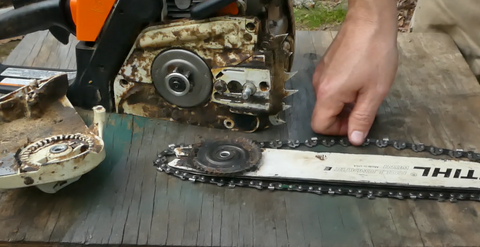
Pull the nose of the chainsaw bar away from the chainsaw to release it from the tensioner. Screw off the sprocket, then it’s easy to pull the drive links out, and don’t forget to put the sprocket screw back in after the chain’s taken off. Different manufacturers may have different ways of flipping your bar over, in this case on Stihl MS 180 we just take the screw out.
Step 3 Install the new chain
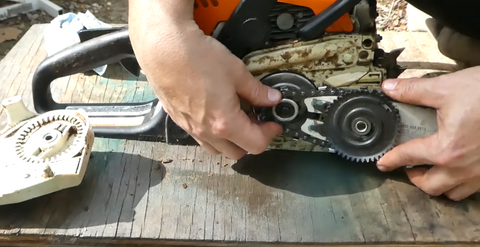
When installing the new chain, make sure the hooks on the top of the bar are facing forward (towards to the guide bar nose).
Disengage the clutch by pushing the safety handle back, then screw the clutch until it’s free-ranging. Hold the chain tight and get it lined up with the gear, then put it on the chainsaw and make sure everything is in the right place.
Step 4 Tension the saw chain
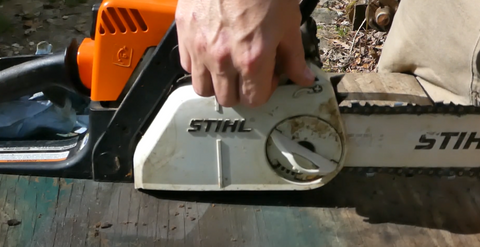
Finally, you may use the tensioner to tighten the saw chain up to get the job done. Read on how to tension the saw chain on Stihl MS 180 chainsaw.
Product Recommendation
1. HIPA Quality Chainsaw Chains
Please let us know if this works and if you have any suggestions or comments. Or you can join us to feature your passion with repair projects, share your stories with Hipa family and also get help from Hipa.


