How To Tune Up Your HONDA GX 360 Engine With HIPA All-In-One Carburetor Kit
If your Honda GX390 engine is experiencing poor performance, hard starting, or other issues, it may be time for a tune-up.
One of the most important components of a tune-up is the carburetor, which is responsible for mixing air and fuel to provide the engine with the necessary combustion. If your carburetor is damaged or worn out, it may need to be replaced.
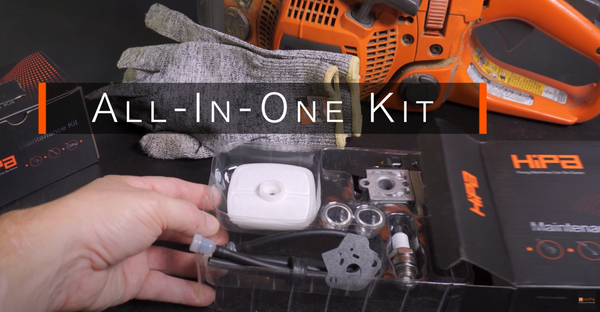
In this blog, we will guide you through the steps of tuning up your Honda GX390 engine with the HIPA All-in-one kit, which includes a carburetor, air filter, fuel filter, spark plug, fuel line, and gaskets.
Step 1: Gather Your Tools and Equipment
Before starting the tune-up, make sure you have all the necessary materials and tools. In addition to the HIPA All-in-one kit, you will need:
1.Pliers
2.Screwdrivers
3.Wrenches
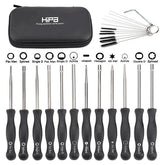
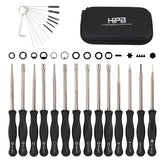
4.Hipa All-In-One Kit for HONDA GX 360
5.A Pair of Cut-resistance Gloves
Step 2: Remove the Carburetor
To replace the carburetor, you will need to first remove the old one. Follow these steps:
Turn off the engine and allow it to cool.
Disconnect the spark plug wire to prevent accidental starting.
Remove the air filter cover and air filter housing.
Disconnect the fuel line from the carburetor and plug the fuel line to prevent fuel leakage.
Disconnect the throttle linkage and choke linkage from the carburetor.
Remove the bolts or screws that hold the carburetor to the engine.
Carefully remove the carburetor from the engine.
Step 3: Install the New Carburetor
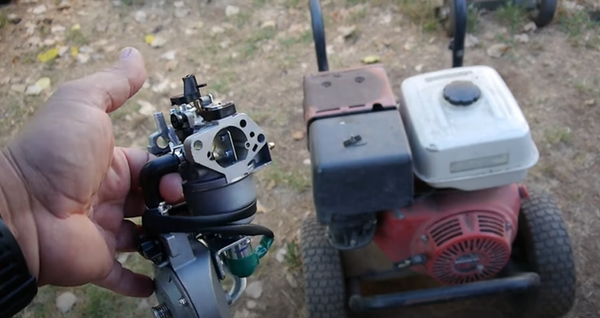
Once the old carburetor is removed, you can install the new one. Follow these steps:
Install the new carburetor onto the engine and secure it with the bolts or screws.
Reconnect the throttle linkage and choke linkage to the carburetor.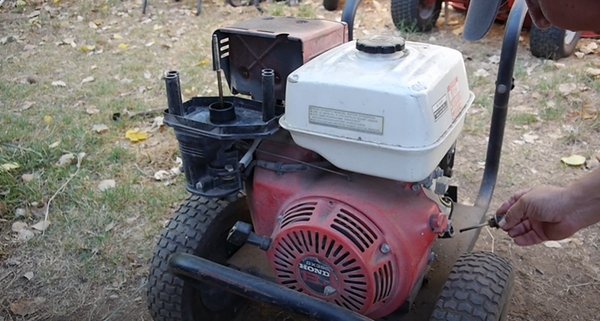
Reconnect the fuel line to the carburetor.
Reinstall the air filter housing and cover.
Step 4: Replace the Spark Plug
The spark plug is responsible for igniting the fuel in the engine, and a worn or dirty spark plug can cause poor performance, hard starting, and engine damage. To replace the spark plug, follow these steps:
Disconnect the spark plug wire.
Use a spark plug socket and ratchet to remove the old spark plug.
Inspect the old spark plug for signs of damage or excessive wear.
If the old spark plug is dirty or damaged, replace it with a new spark plug of the recommended type and gap.
Tighten the new spark plug to the recommended torque setting.
Reconnect the spark plug wire.
Step 5: Check and Change the Oil
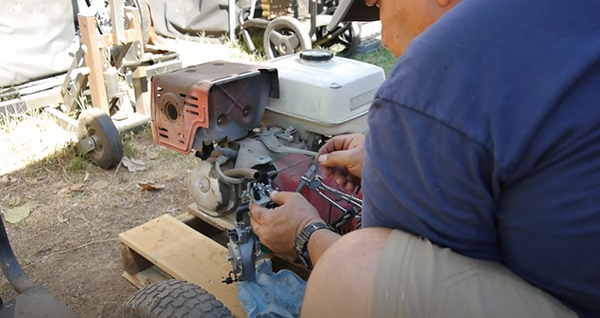
The oil in your engine is responsible for lubricating the moving parts and reducing friction and heat. To check and change the oil, follow these steps:
Locate the oil fill cap and dipstick on the engine.
Remove the dipstick and wipe it clean with a rag or paper towel.
Reinsert the dipstick and remove it again to check the oil level. If the level is low, add the recommended oil type and amount.
Check the oil condition for any signs of contamination or discoloration. If the oil is dirty or contaminated, drain and replace it with fresh oil.
Step 6: Replace the Air Filter
The air filter is responsible for preventing dirt and debris from entering the engine, and a dirty or clogged air filter can cause poor performance, hard starting, and engine damage. To replace the air filter, follow these steps:
Remove the air filter cover and air filter element
Inspect the old air filter for signs of damage or excessive dirt and debris.
If the old air filter is dirty or damaged, replace it with a new one from the HIPA All-in-one kit.
Install the new air filter housing and cover.
Step 7: Replace the Fuel Filter
The fuel filter is responsible for preventing dirt and debris from entering the engine's fuel system, and a dirty or clogged fuel filter can cause poor performance and hard starting. To replace the fuel filter, follow these steps:
Locate the fuel filter on the engine.
Disconnect the fuel line from the fuel filter.
Remove the old fuel filter and inspect it for signs of damage or excessive dirt and debris.
If the old fuel filter is dirty or damaged, replace it with a new one from the HIPA All-in-one kit.
Reconnect the fuel line to the new fuel filter.
Step 8: Test the Engine
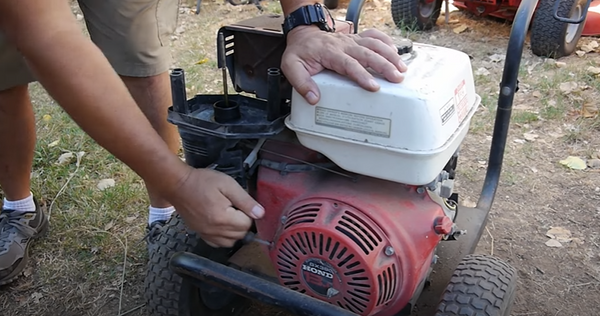
After completing the tune-up, it's important to test the engine to ensure that it's running smoothly and without any issues. Follow these steps to test the engine:
Turn on the engine and let it idle for a few minutes.
Check the idle speed and adjust if necessary.
Gradually increase the engine speed and listen for any abnormal sounds or vibrations.
Test the engine under load, such as cutting wood or other materials.
Monitor the engine for any signs of poor performance, hard starting, or other issues.
By following these steps and using the HIPA All-in-one kit, you can easily tune up your Honda GX390 engine and keep it running smoothly and reliably for years to come. Remember to always refer to the manufacturer's instructions and safety precautions when working on your engine, and consult a professional if you're unsure about any aspect of the tune-up process.
Blog Recommendation
1.Here is another blog for STIHL FS 90R trimmer tune-up:
How To Tune Up STIHL FS 90R Trimmer or Weedeater With Hipa All-In-One Kit
2.Actually, there are some Carburetors Needs to Be Adjusted, here is a step-by-step guide:
Carburetor Common Adjustment Instructions
About All-In-One Kit
What is the Hipa All-In-One kit? Why do you need it? How does it help? Here is my another blog that explains these questions:
Blog: HIPA All-In-One Kit--The Ultimate Solution For Small Engine Maintenance
Hipa's parts kits make it quick and easy to maintain or restore your lawn and garden equipment. Whether you need replacement parts, tools, or help, hipastore.com has the small machine solution for you.


