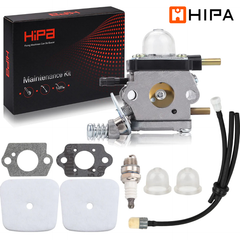
Fuel Line Kit Replacement On A Leaf Blower

This blog is a step-by-step instruction for replacing the fuel line kit (replacing the fuel tank grommet, fuel lines, fuel filter, vent line, and vent) on an Echo leaf blower. The most common reasons for replacing any of these parts is when the leaf blower is leaking fuel and the part is worn.
Steps
Before you begin the replacement, you need to make sure the engine and muffler have cooled and the on/off switch is in the off position. You also need to remove the wire and boot from the spark plug to prevent the engine from accidentally starting. We recommend performing this procedure with little or no fuel in the tank.
Step 1: Note the orientation of the fuel lines attached to the carburetor then detach them if necessary. Pull the vent line free.
Step 2: Now use a large flat-head screwdriver to help pry the grommet out of the fuel tank and pull the old fuel line assembly free.
Step 3: Install the new fuel line assembly by inserting the fuel filter and line into the tank. Note the orientation of the new fuel lines then press the grommet into place.
Step 4: Attach the fuel lines to the appropriate ports on the carburetor. Position the vent line in the blower housing. Next unthread the fuel tank cap and pull the retainer free, use a small flat-head screwdriver to help pry out the old cap gasket and slide it off the retainer. Slide the new gasket over the retainer and press it into place in the cap. Insert the retainer into the tank and thread on the cap.
With the repair completed, rethread the spark plug and be careful not to strip the threads by over-tightening. Reattach the wire in boot to the plug. Turn the on/off switch to the on position and your leaf blower should be ready for use.
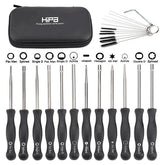
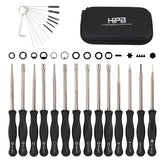
Revive Your Machine With Hipa All-In-One Kit
Hipa's parts kits make it quick and easy to maintain or restore your lawn and garden equipment. Whether you need replacement parts, tools, or help, Hipa has the small machine solution for you.


