Fuel Filter Replacement On A Snow Blower
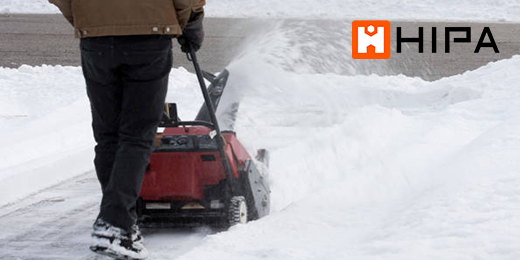
This blog is a step-by-step instruction for replacing the fuel filter on a Toro snowblower. The most common reasons for replacing the fuel filter are when the engine stops after a few seconds or runs poorly.
Replacement
Before you begin the replacement, you need to make sure the engine has cooled. We recommend performing this procedure with no fuel in the tank.
Step 1: Use a 3/8 inch socket to unthread the three mounting bolts securing the chute handle and the chute itself. Remove the assembly and detach the handle.
Step 2: Using a Phillips head screwdriver unthread the screw to release the chute ring seal. Unthread the two front housing screws. Unthread the three screws from the right side of the housing.
Step 3: Use the 3/8 inch socket or nut driver to unthread the mounting bolts securing the housing to the rear bracket. Next, unthread the screws to release the two retaining clamps holding the housing to the handle. You can now fully remove the housing.
Step 4: Use an eight millimeter socket to unthread the six bolts securing the muffler cover. Use a half-inch socket to fully unthread the upper bolts securing the handle assembly. Lower the handle to fully remove the muffler cover.
Step 5: Detach the primer hose from the carburetor. Be prepared for some fuel to spill. Disconnect the wires from the key switch terminals. Use a 10 millimeter socket to unthread the nuts securing the control housing and pull the housing off of the mounting bolts. Now use use a 10 millimeter socket to unthread the two nuts and an 8 millimeter socket to unthread the screw securing the site access cover, then pull the cover off.
Step 6: Use the 8 millimeter socket to unthread the two mounting screws securing the trim and fuel tank. Unthread the additional screw on the left securing the tank. Release the clamp to detach the fuel hose and you can fully remove the tank. Use a 12 millimeter wrench to unthread the old fuel filter from the tank.
Step 7: Install the new fuel filter by threading it into the tank. Reinstall the fuel tank by first connecting the fuel hose to the port and securing the clamp. Reposition the tank and thread the left side screw. Realign the trim and thread the screws. Realign the side access cover and thread the screw and nuts to secure.
Step 8: Reposition the control housing. Thread and tighten the mounting nuts. Connect the wires to the key switch terminals. Reattach the primer hose to the carbuetor. Reposition the muffler cover and thread the six bolts to secure. Reposition the handle assembly and rethred the upper bolts. Reposition the housing. Align the two retaining clamps and thread the screws to secure the housing to the handle.
Step 9: Rethread the mounting bolt to secure the housing to the rear bracket. Replace the three right side screws. Rethread the two screws securing the front of the housing. Reposition the ring seal on the housing, so the Phillips head screw hole aligns with the appropriate screw hole in the ring grear. Thread the screw, realign the handle on the chute then reposition the assembly on the ring seal and thread the three mounting bolts to secure.
With the repair completed, refill the tank and your snowblower should be ready for use.
Revive Your Machine With Hipa Snow Blower Parts
Hipa's parts kits make it quick and easy to maintain or restore your lawn and garden equipment. Whether you need replacement parts, tools, or help, Hipa has the small machine solution for you.


