Carburetor Replacement On A String Trimmer

This blog is a step-by-step instructions for replacing the carburetor on a string trimmer. The most common reasons for replacing the carburetor is if the engine won’t start or stalls after starting.
Replacement
Before you replace the carburetor on your string trimmer, you need to first make sure the engine has cooled.
Step 1: Remove the wire and boot from the spark plug to prevent the engine from accidentally starting.
Step 2: Loosen the knob to release the air filter cover and the air filter itself. Use an eight millimeter socket or nut driver to unthread the air filter housing mounting nuts. Now you can lift up the choke lever and remove the housing.
Step 3: Detach the throttle cable from the carburetor and note the orientation of the fuel lines. Then detach the fuel lines to fully remove the old carburetor.
Step 4: Lift up the cable mount to remove the old gasket. And now you are ready to install the new carburetor.
Step 5: Slide the gasket onto the mounting posts and attach the fuel lines to the appropriate carburetor ports.
Step 6: Attach the Z end of the throttle cable to the carburetor. Now align the carburetor on the mounting posts. It is also important to confirm that the cable mount is properly positioned. Then push the carburetor into place with the choke lever up.
Step 7: Realign the air filter housing and secure it with the nuts. Open the choke, replace the air filter, reposition the air filter cover and tighten the knob to secure.
With the repair completed, reattach the wire in boot to the spark plug. And now your string trimmer should be ready for use.
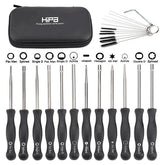
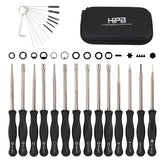
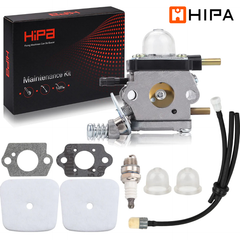
Revive Your Machine With Hipa All-In-One Kit
Hipa's parts kits make it quick and easy to maintain or restore your lawn and garden equipment. Whether you need replacement parts, tools, or help, Hipa has the small machine solution for you.


