Drive Shaft Replacement On A String Trimmer

This blog is a step-by-step instructions for replacing the clutch on a string trimmer. The most common reasons for replacing the shaft is if it is damaged or if the trimmer head will not rotate.
Replacement
Before you replace the shaft on your string trimmer, you need to first make sure the engine has cooled and remove the wire and boot from the spark plug to prevent the engine from the accidentally starting.
Step 1: Use a 7/16 inch wrench to loosen the thumb screw locking nut and unthread the thumb screws securing the lower drive shaft. Depress the button to release the lower shaft.
Step 2: Use a t25 Torx bit to loosen the screws securing the throttle housing.
Step 3: Loosen the clamp screw and remove the mounting screws securing the upper shaft. You can now pull the old upper drive shaft free.
Step 4: Prepare the new upper drive shaft for installation by transferring the support handle from the old shaft to the new one.
Step 5: Now insert the upper shaft into the throttle housing until it fully locks into place.
Step 6: Thread and tighten the mounting screws and tighten the clamp screw as well as the screws securing the throttle housing.
Step 7: Insert the new lower drive shaft into the coupler until it snaps into place.
Step 8: tighten the thumb screw then tighten the locking nut.
With the repair completed, reattach the wire in boot to the spark plug and your string trimmer should be ready for use.
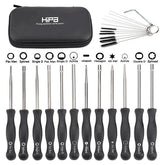
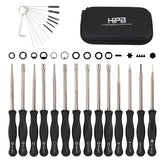
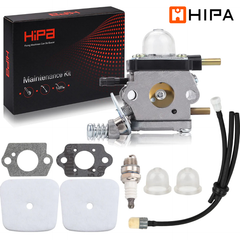
Revive Your Machine With Hipa All-In-One Kit
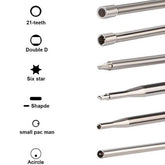
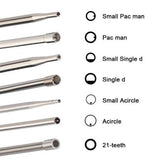
Hipa's parts kits make it quick and easy to maintain or restore your lawn and garden equipment. Whether you need replacement parts, tools, or help, Hipa has the small machine solution for you.


