How to Adjust the Carburetor on a Stihl FS 76 74 28cc String Trimmer
As far as the small engine is concerned, gas-powered outdoor equipment operates on almost the same principle, the difference may be slight. If you can adjust a lawn mower carburetor, you can adjust a string trimmer, chainsaw and blower carburetor, because the procedure is almost the same.
Here, we’ll take Stihl string trimmer FS 76 as an example to show you how to adjust a carburetor but it's the same for the Stihl FS 45 46 and other models.
As we all know, all carburetors are preset at the factory, but it’s common for them to be off adjustment after heavy use. When the carburetor isn't adjusted properly, the engine may smoke or stall, which is usually because of a lean mixture. You adjust the fuel/air mixture using three screws located on the side of the carburetor right between the air filter and the fuel tank.
Note: It is important to follow safety precautions when making a carburetor idle adjustment, because the equipment will be running.
High, Low and Idle Screws
The three adjustment screws are labeled H for high, L for low and LA for idle. The L screw controls the fuel mixture when the trimmer is operating at low speed. The H screw controls the mixture when the trimmer is operating at full throttle, and the LA screw adjusts the idle mixture.
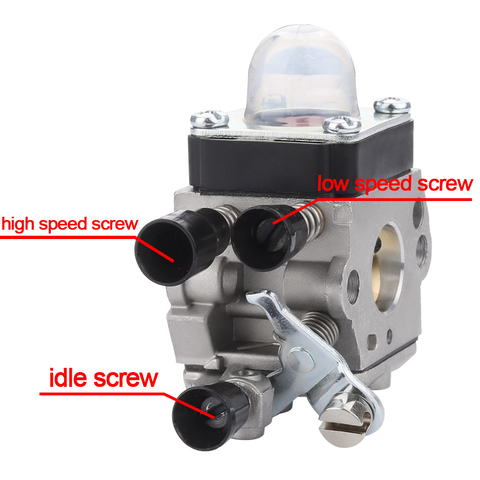
How to Adjust a Stihl FS 76 Trimmer Carburetor?
What You'll Need
Carburetor Kit for Stihl FS 76
Step 1: Remove the String Spool
Place your Stihl FS 76 trimmer on a flat surface. Hold down the tabs on the spool cover, and lift off the cover, and then the spool. It's always a good idea to remove the string spool before you start so no one gets hurt.
Step 2: Clean or Replace the Air Filter
Remove the air filter cover and pull out the air filter. If it's dirty, clean or replace it.
Step 3: Remove the Screw Guards
Stihl supplies rubber guards on the carburetor screws, and you have to remove them before you can adjust the screws.
Step 4: Adjust the High-Speed Screw
Start the trimmer and hold the throttle trigger in all the way to get the trimmer head spinning at maximum speed. Turn the H screw clockwise until the head is spinning as fast as it will go, then back off the screw carefully until the revolutions start to decrease. Turn the screw slowly clockwise again until the engine once again just starts to pick up speed, and this is the sweet spot for the H screw.
Step 5: Adjust the LA Screw
Release the throttle and let the trimmer idle. If it stalls, turn the LA screw clockwise until the engine keeps running when the throttle isn't engaged. If the trimmer head kept spinning, it’s OK, you can correct that by adjusting the L screw.
Step 6: Adjust the L Screw
With the engine idling, turn the L screw clockwise until the engine speed just starts to increase, then back it off slowly until you hear the speed just starting to decrease. Leave the screw in this position, because you don't want a rich mixture at low speed.
Step 7: Set the Final Idle Speed
Turn the LA screw clockwise until the trimmer head just starts to spin, then back off the screw slowly. The point at which the head stops spinning is the optimum position for the idle screw.
The hardest part about the whole process is that you should listen carefully to the sound of the engine and determine the right position. If you are still not sure about the right operation, we have a how-to video from our special user Peter to show you the process.
Product Recommendation
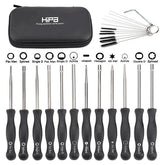
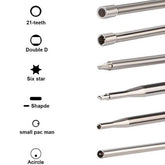
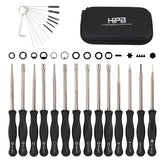
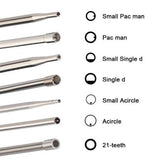
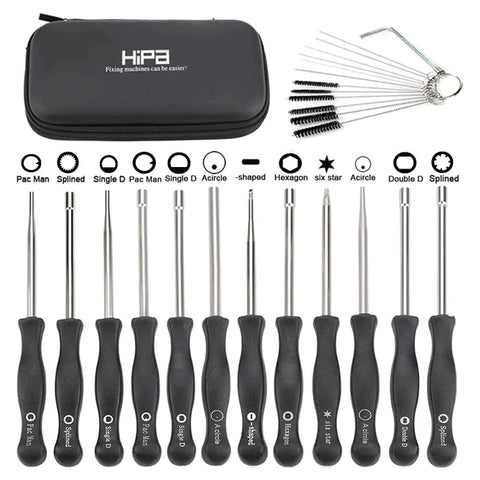
1. HIPA 2-Stroke Carburetor Adjustment Kit
Please let us know if this works and if you have any suggestions or comments. Or you can join us to feature your passion for repair projects, share your stories with the Hipa family, and get help from Hipa.




1 comment
Received the kit just as advertised but the carb doesn’t fit.
The HIPA carb is thicker than the oem carb and the studs that the carb slides on are not long enough to accommodate a thicker carb. Couldn’t even get the nuts to start on the studs as they just barely are flush with the outside of the carb.
Fail.