Trimmer Head Housing Replacement On A String Trimmer
This blog is a step-by-step instructions for replacing the trimmer head housing on a string trimmer. The most common reasons for replacing the trimmer head housing is if it breaks, causing the line not the feed properly.
Replacement
Before you replace the trimmer head housing on your string trimmer, you need to first remove the wire and boot from the spark plug to prevent the engine from accidentally starting and keep your hands clear of the line cutter.
Step 1: Depress the two tabs on the trimmer head and pull of the old trimmer head housing and lift out the line spool.
Step 2: You are now ready to install the new trimmer head housing. Make sure the line is taut, insert one end into the spool notch and the other into the opposite notch. Now you can insert the spool into the new housing and align the two ends of the line into the housing notches. Then, align the housing tabs and snap the assembly into place.
Step 3: Reattach the wire and boot to the spark plug.
With the repair completed, your string trimmer should be ready for use.
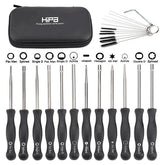
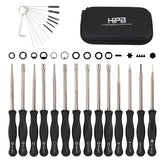
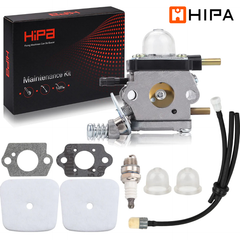
Revive Your Machine With Hipa All-In-One Kit
Hipa's parts kits make it quick and easy to maintain or restore your lawn and garden equipment. Whether you need replacement parts, tools, or help, Hipa has the small machine solution for you.


