Throttle Lever Spring Replacement on A Honda Lawn Mower
This blog is a step-by-step instruction for replacing the throttle lever spring on a Honda lawn mower. The most common reason for replacing the throttle lever spring are when the throttle lever spring is worn out or damaged.
Steps
Before you begin the replacement, you need to make sure the engine has cooled and remove the wire and boot from the spark plug to prevent the engine from accidentally starting.
Step 1: Remove the two screws securing the lever cover. Then remove the tension spring and loosen the nut that secures the change cable.
Step 2: With the nut loose, you can pull the change cable away from the handle. Next, remove the nut securing the change lever and the throttle lever to the handle. Now you need to remove the change lever, as an assembly, there is a spring inside of this lever, so you do not want to let the tension come off of that spring if you can avoid it as well as the lever spring.
Step 3: Next, remove the bracket that goes between the lever and the throttle lever. It is held in place with a single bolt on the backside. Now pull the throttle cable away from the throttle lever.
Step 4: You can now remove the throttle lever spring and install a new one, followed by the throttle lever.
Step 5: Rethread the end of the throttle cable into the throttle lever. Replace the bracket by threading it over the stud and then make sure the C-shaped end on the end of the throttle lever fits over the tab on the bracket.
Step 6: With all that all in place, you need to rescue it with the screw but you just need to tighten the screw by hand at this point. Next, install the governor spring followed by the lever assembly, when you put the lever assembly spring back on, you need to make sure the tab on the lever lines up with the hole on the bracket. Then, push all this towards the handle and secure it the the nut. And tighten the bolt up that attaches the bracket to the handle.
Step 7: Now slide the change cable back up into the bracket on the handle and tighten it up. And secure the tension spring, replace the level cover and secure it with the two screws.
With the repair completed, you lawn mower should be ready for use.
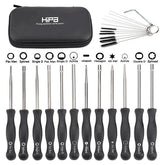
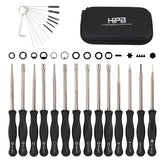
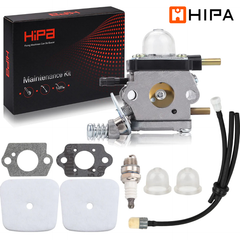
Revive Your Machine With Hipa All-In-One Kit
Hipa's parts kits make it quick and easy to maintain or restore your lawn and garden equipment. Whether you need replacement parts, tools, or help, Hipa has the small machine solution for you.


